How to Setup a Project
- Login to your ConcourseSuite site.
- Click on the Projects tab.

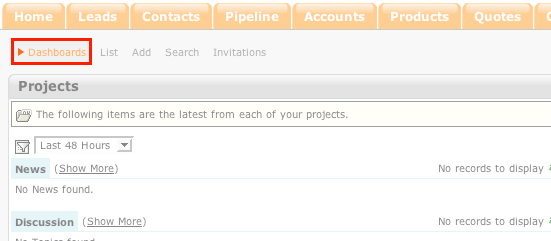
- The Dashboard view appears.
- Note: It is the default view, but you can always get to it by clicking on Dashboard.
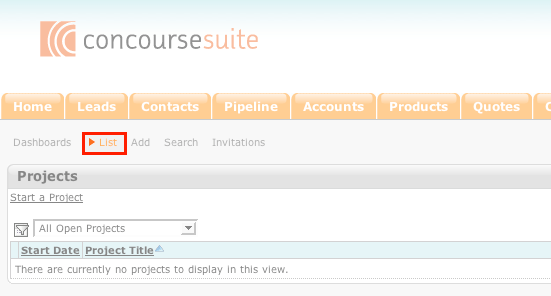
- Click on List to view all projects.
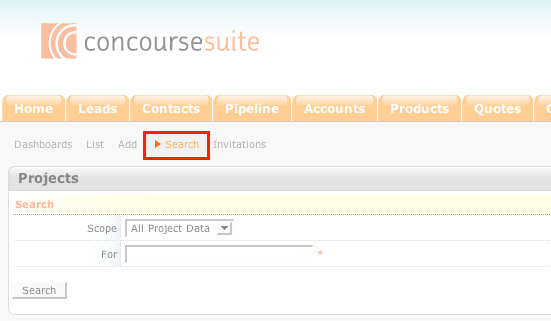
- Click Search to quickly find a specific project.
- Click on Invitations to see if you have been asked to join a project.
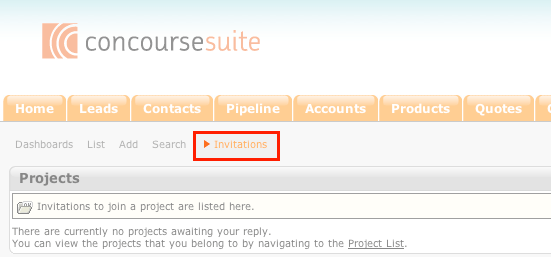
- Click on Add to create a new project.
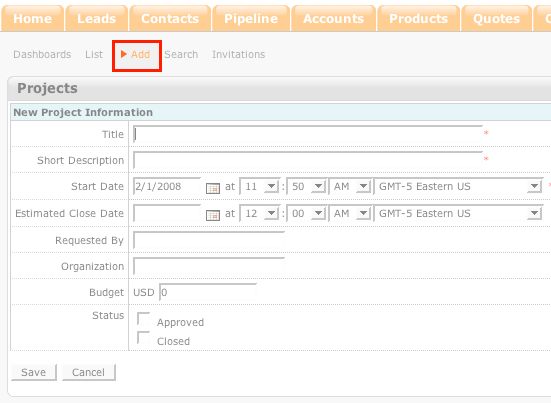
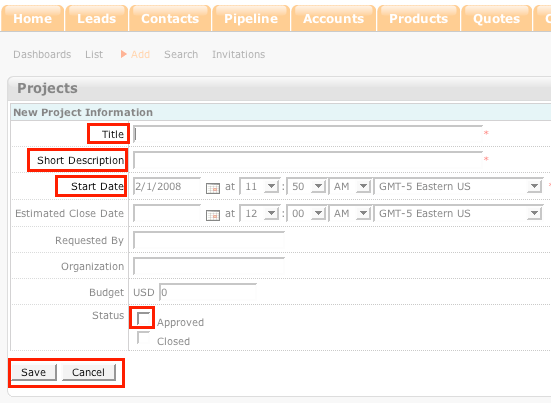
- Create the Project Title.
- Create a Short Description.
- Select a Start Date.
- Select Status of the project, in this case it is approved.
- Note: Approved means that it is an active project and "Closed" means that the project
is finished.
- Select Save to continue creating the project or Cancel to return to the dashboard.
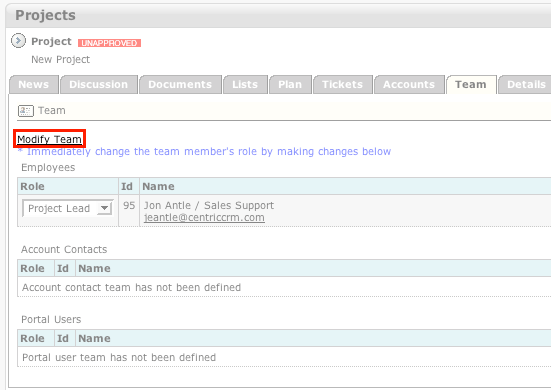
- Select Team to begin building the foundation of this project.

- Sellect Modify Team
- Select Add a User From.
- Select a Department.
- Select a Contact.
- Repeat until the Team Members list is completed.
- Select Update Team to make all changes or Cancel Changes to return to the unchanged
team view.
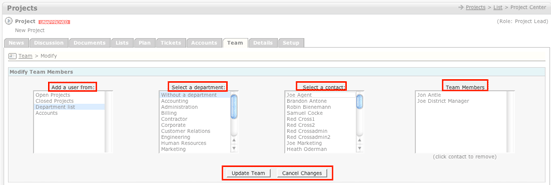
- Once Update Team is selected, the names are added to the list in the main team window.
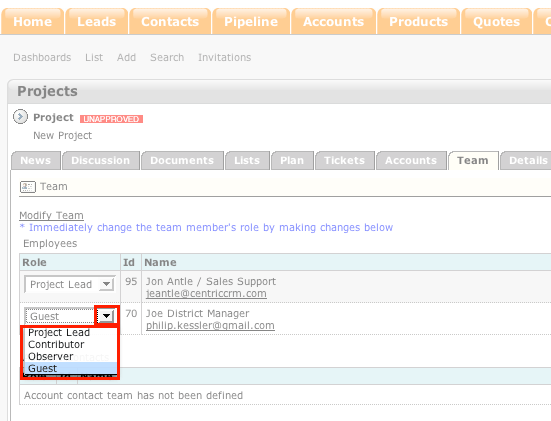
- Once a member is added you can change their role in the project using the drop down menu.
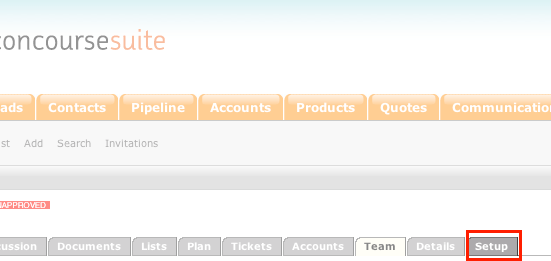
- Select Setup to configure permissions for the team.
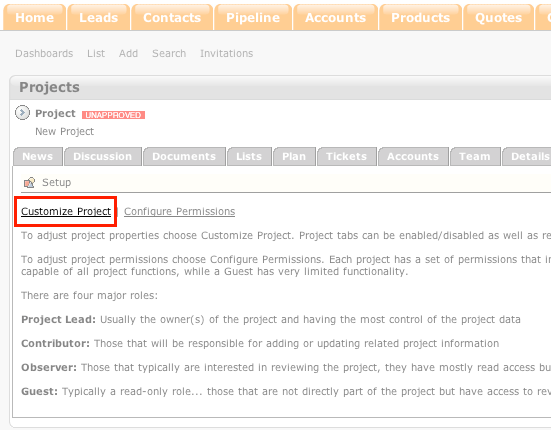
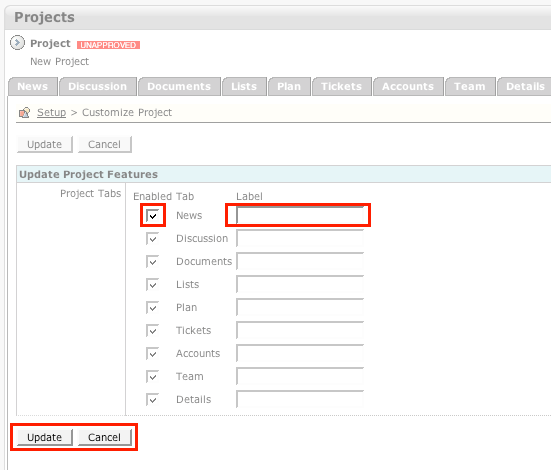
- Select Customize Project.
- Select the check box which will allow you to enable or to hide tabs for this project.
- To change the tab's name, enter the name in the Label column next to corresponding tab.
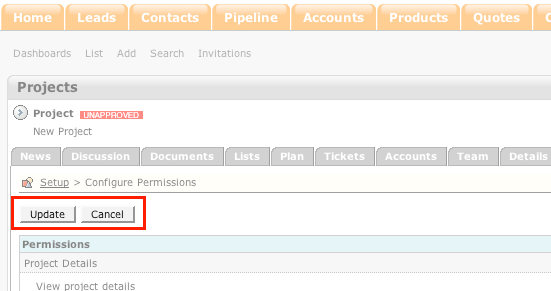
- Select update to finalize any changes or Cancel to return to the main setup view.
- Once you return to the Setup tab, select Configure Permissions.
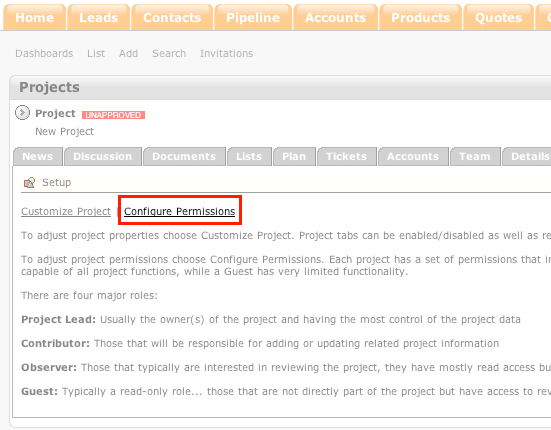
- A list of permissions appear, use the drop down menu to assign the role of your choice access
to specific functionalities within this project.
- Select Update to finalize any changes or Cancel to return to the main Setup view.
